Clay Otter
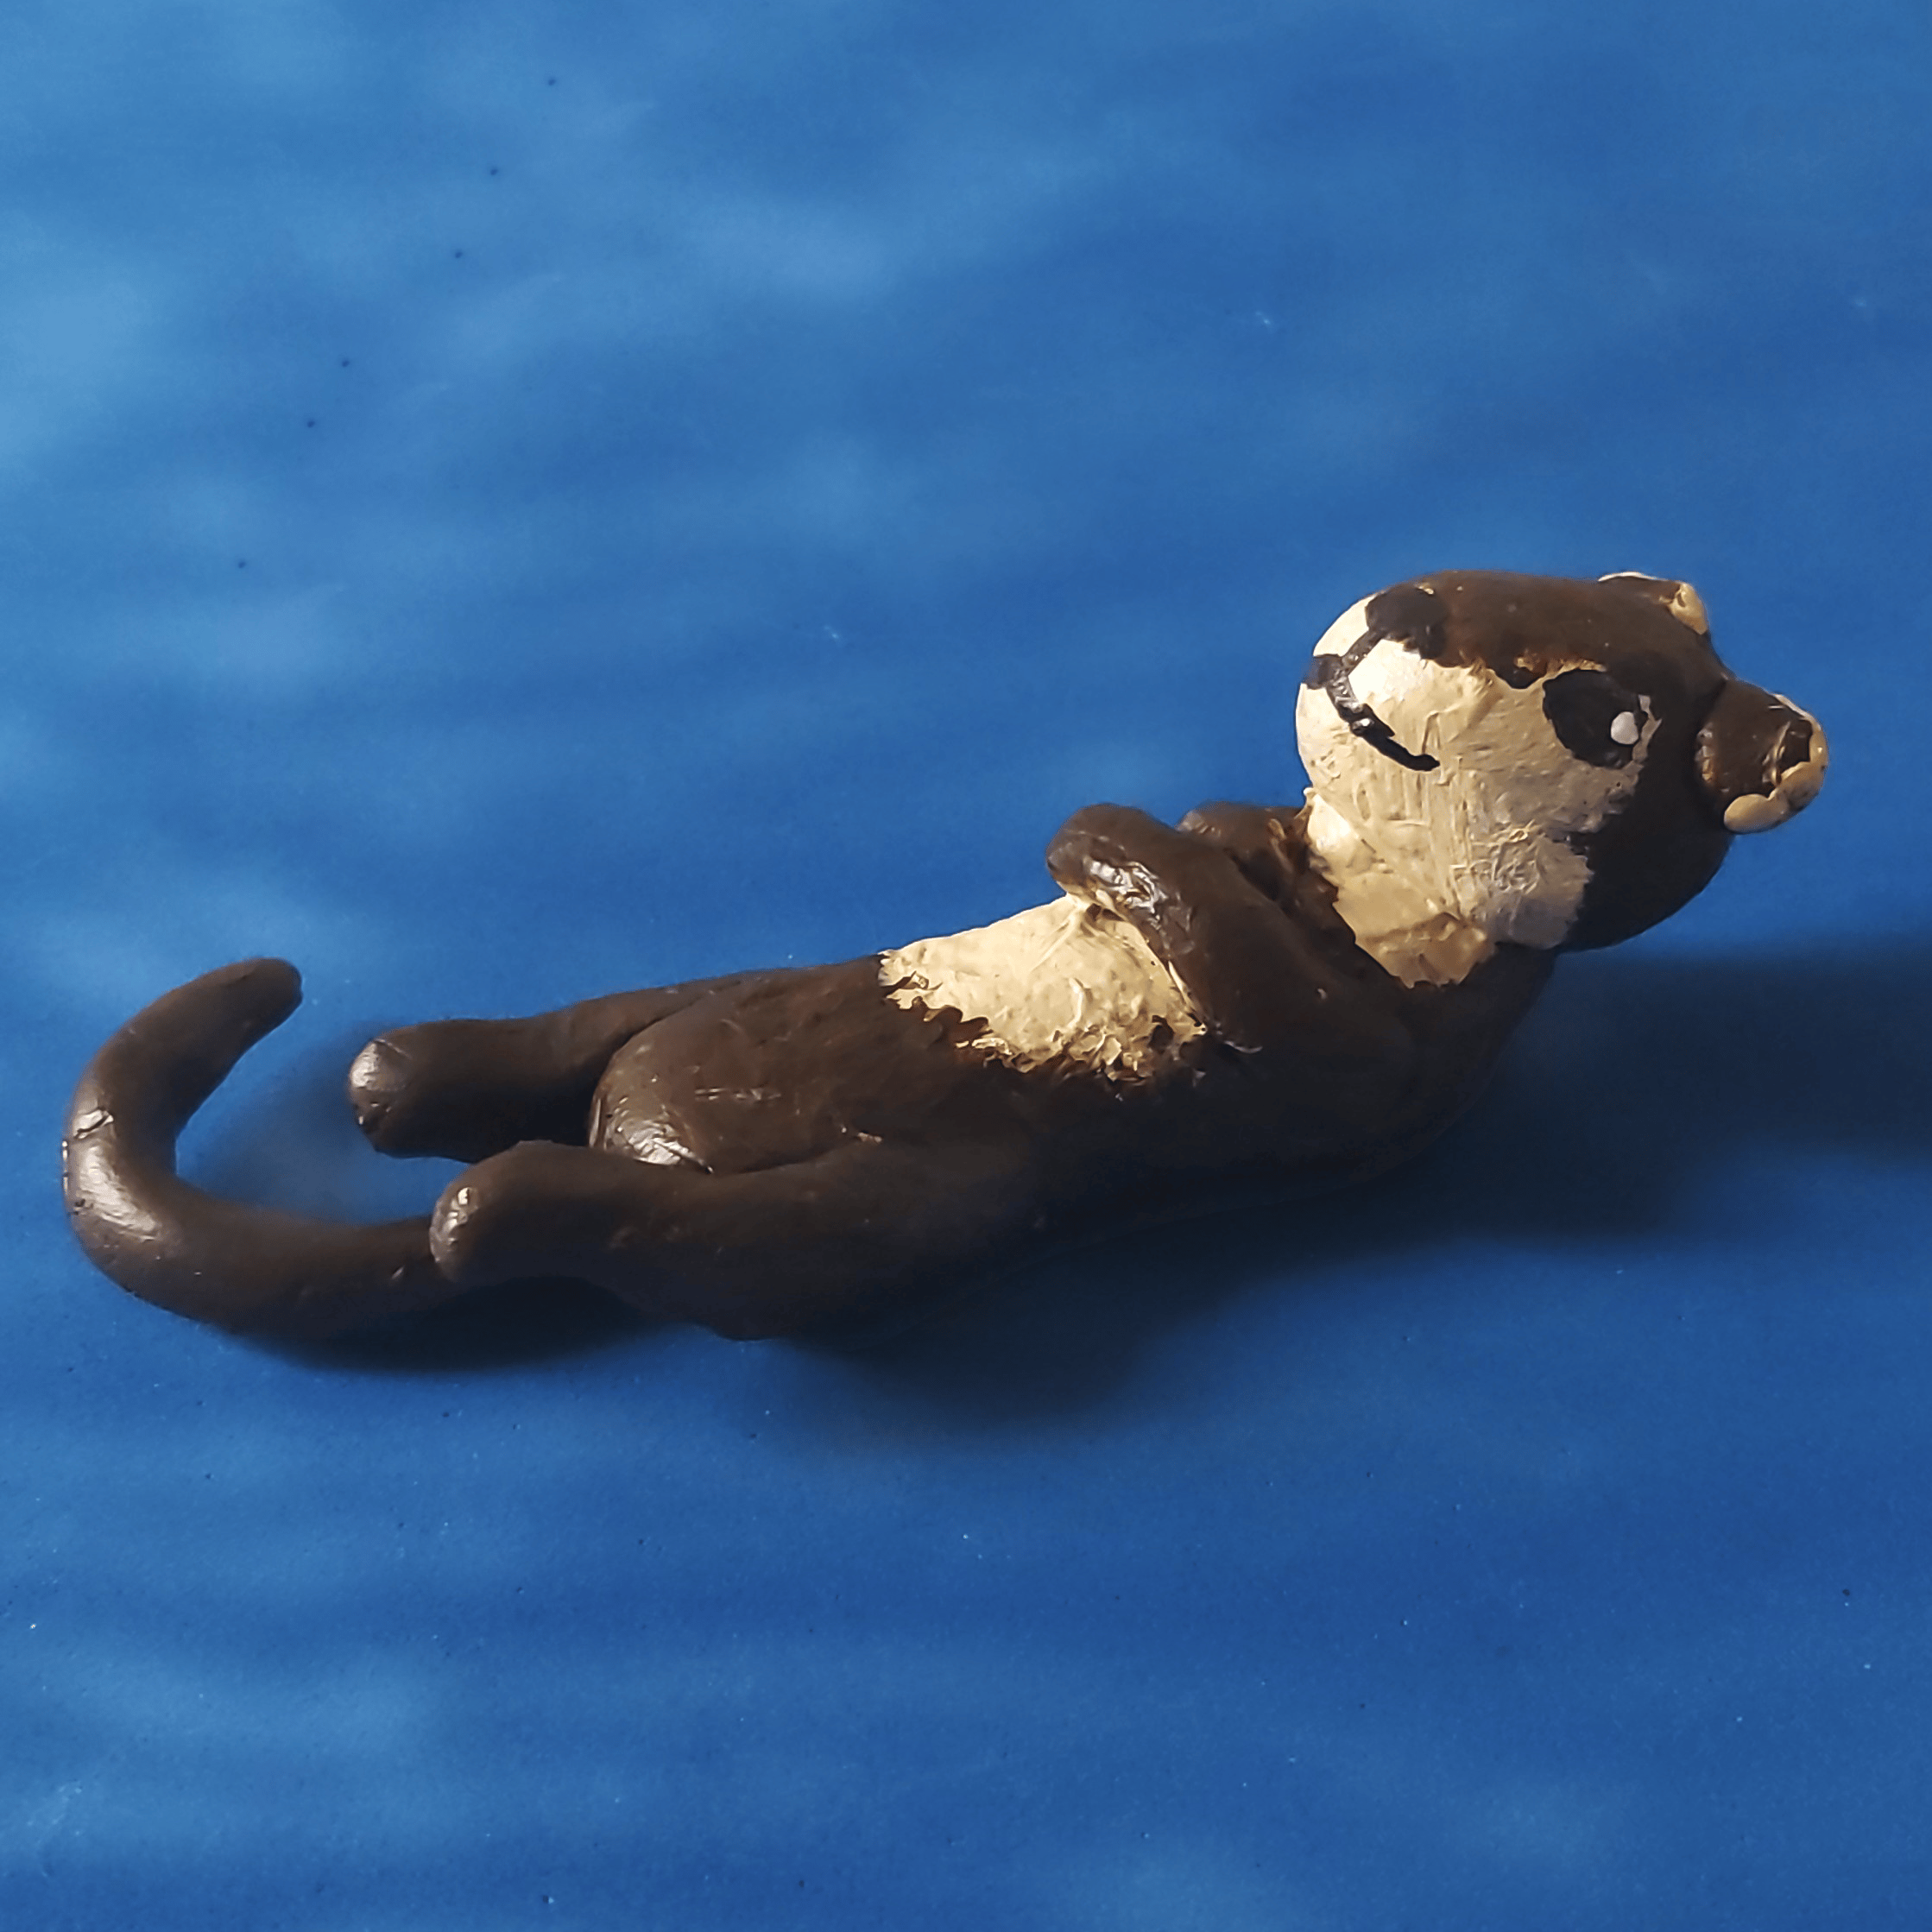
We’ve got a river-ting craft for you! Why not make your own clay-some otter?
Here’s what you need:
- Air-dry modeling clay
- Paint
- Black and white markers
- Optional: Glue
Here’s how you make it:
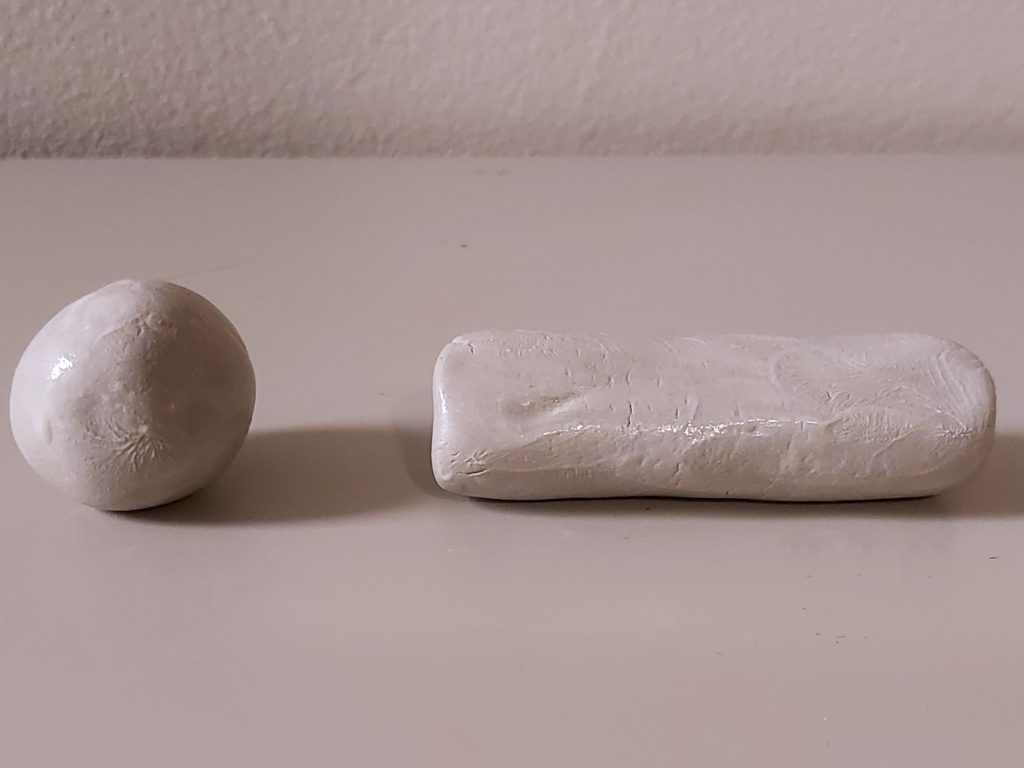
Step 1: Grab your modeling clay and roll out one round and one cylinder clay shape, this will be your otter’s head and body respectively.
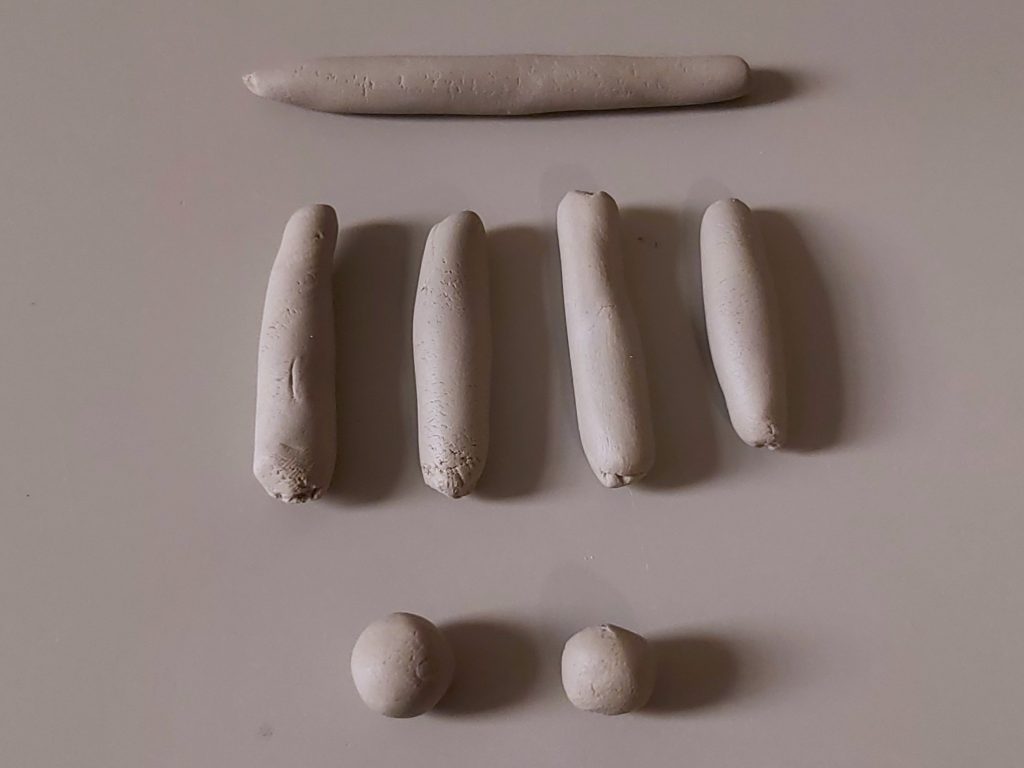
Step 2: Roll out four clay legs, a tail, and two tiny spheres for ears.
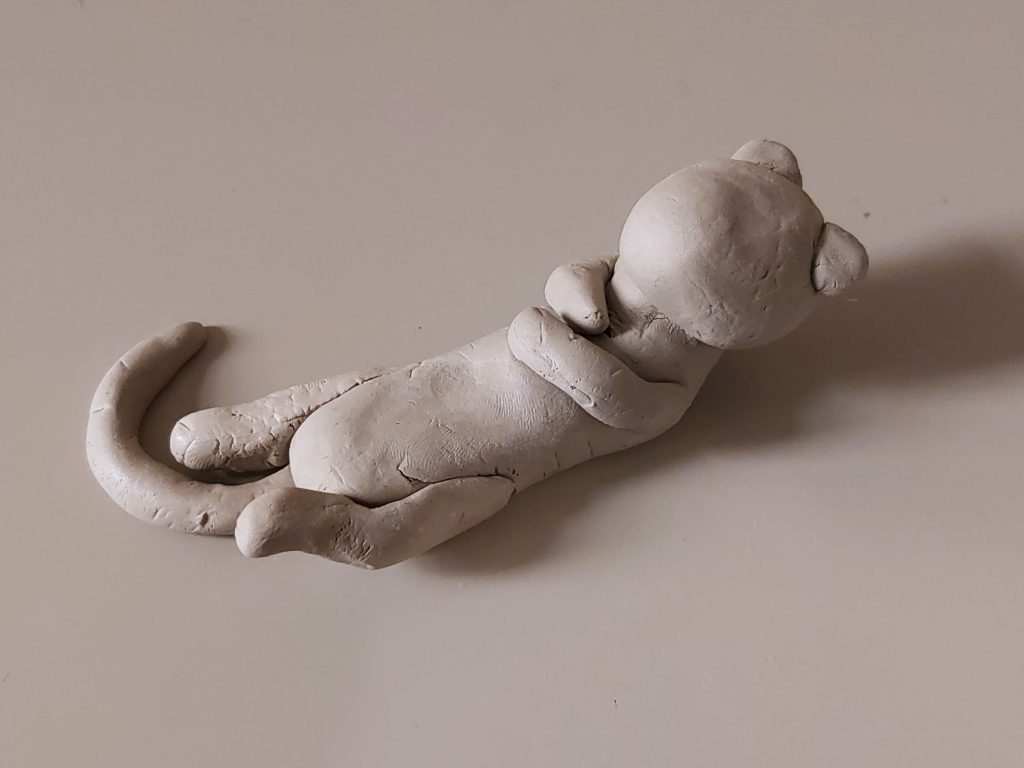
Step 3: Assemble your otter. If your clay gets too dry, you can wet it with some water or use glue to keep the pieces together.
Leave your clay to air dry. The drying time depends on the type of air-drying modelling clay you use.
Step 4: Once your clay is dry, paint your otter! Do you want to give it a cute belly? Little muzzle?
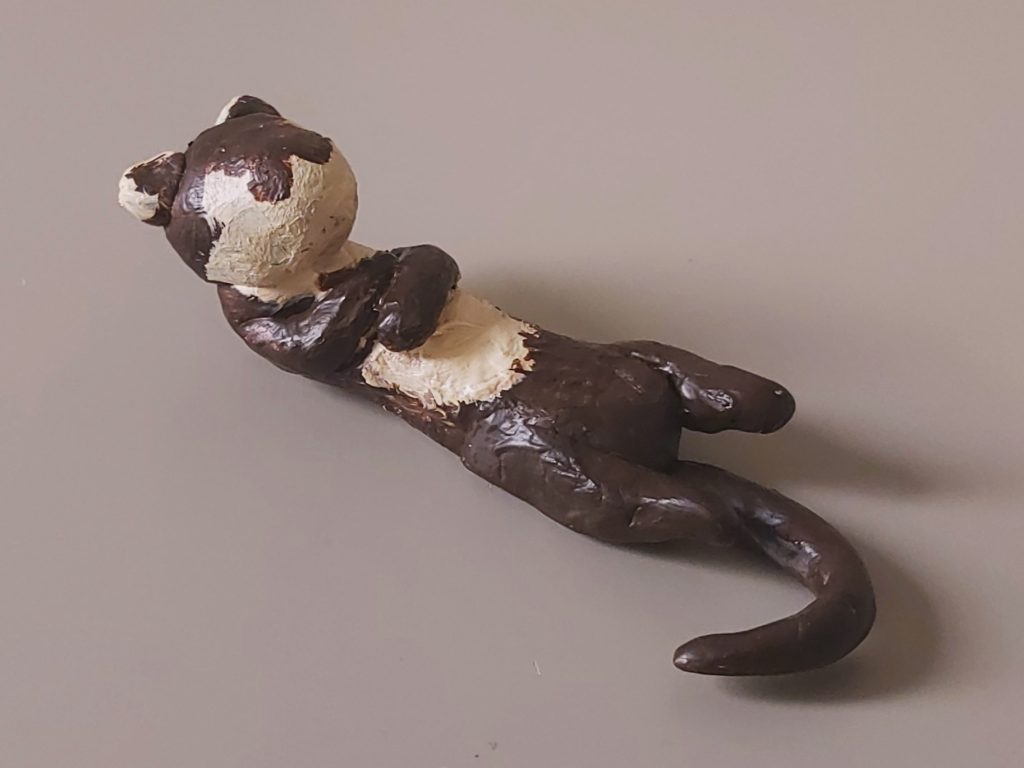
Step 5: Finally, after your paint has dried, use your black marker to give your otter cute little eyes, a nose, and mouth!
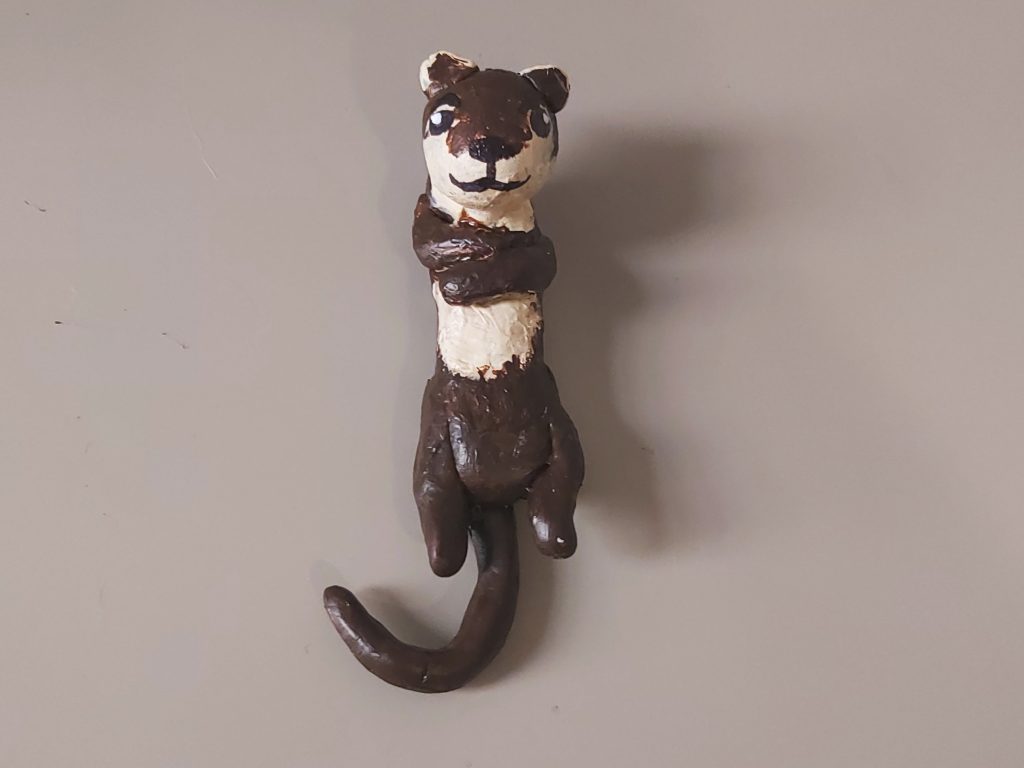

He is cute.