The race is on! Emma and Ryan are competing to decide who will get to be the future host of the Earth Rangers podcast. Their first stop: New York City! In the Big Apple Emma is tasked to investigate the secret life of creatures from the city; but what kind of wild animals would want to live in such a bright, loud, and crowded place?
Let’s tune in and find out.
Hi everyone! Nat here, and guess what? This is it Earth Rangers: Emma’s quest has finally begun! The contestants are in New York. Those of you who guessed it was the Big Apple were completely correct! Hmmm…I wonder why Number 1 picked that of all places?
First of all, let’s recap Number 1’s rules, so we can help Emma the best way we can:
- On every leg of the race Number 1 will give an assignment. Emma and Ryan can pick how they research it!
- Emma and Ryan must keep their carbon footprint low. This means: Trains, buses, carpool and hiking are OK. But no air travel is allowed in this race.
(So ideas for places that would see Emma taking an airplane to reach won’t work. No Bessy for this mission! Hmmm…This will be tricky since they probably won’t have much time in-between missions to get to their next destination! Let’s do our best to give her good spots to reach next!) - Emma and Ryan will present ONE animal fact they learned from their quest. No googling allowed. The most interesting or fascinating fact wins!
(Note that she didn’t say Emma can’t use the WildWire Blog! So that’s good…) - The person with the most points at the end of the competition will win the role of podcast host.
In this episode, we got a good look at what the assignments will look like going forward. For her first fact, Emma presented some great turtle trivia! But it seems that was not enough. Ryan was able to impress Number 1 with some great bird facts of his own! I wonder where he could have gotten them…
Despite feeling out of place, Emma learned a lot about animals while visiting Central Park. Did you know there was a huge green space in the middle of the city? Even in big busy cities like New York, there is still grass, lake, and trees for animals to enjoy!
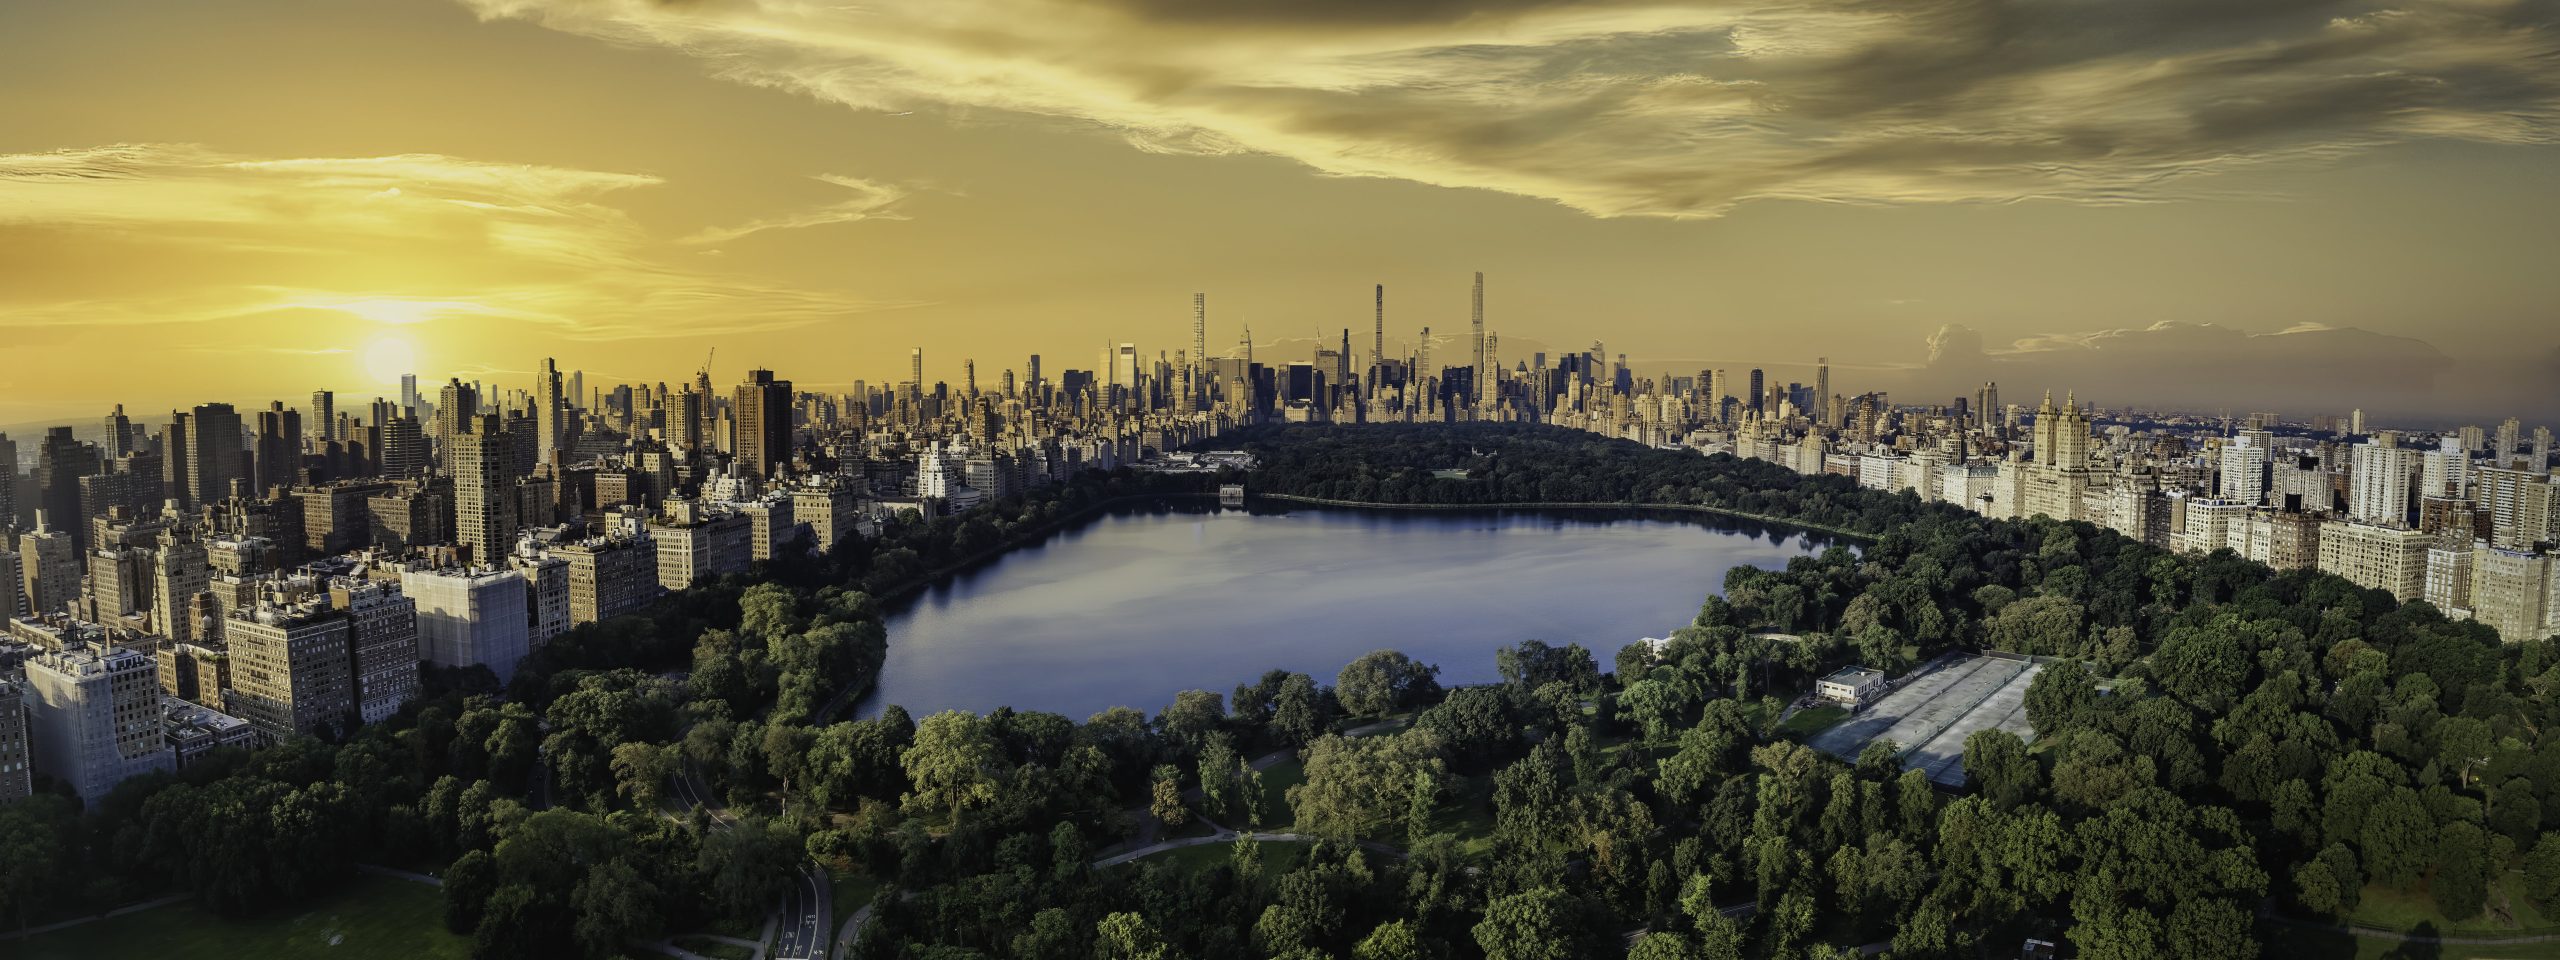
Spaces like these are very important for the environment. They provide shelter for animals, and help give those living in the city a place to be in nature – but more importantly: trees turn carbon dioxide into oxygen! In a place with so many people, you need these nature spots.
This isn’t all Emma has about New York! She asked me to share cool photos and trivia with you guys. She may be super busy but she’ll be doing her best to keep in contact with us while on the road and share anything she learns along the way.
Emma was eager to tell me how happy she is that the next mission is going to be out of the big city. New York is great, but it was hard to navigate. Definitely not easy when in a competition! She is grateful for all the sweet comments you left on the app; they made the trip to New York much nicer.
During her time with Christina and her class, Emma learned about some city-dwelling animals, like the coyote, rats, pigeons and more surprisingly: Turtles! For her first quest, Emma presented facts on the snapping turtle to Number 1. She wanted me to share some more cool things about the other turtles Christina mentioned that didn’t get much love!
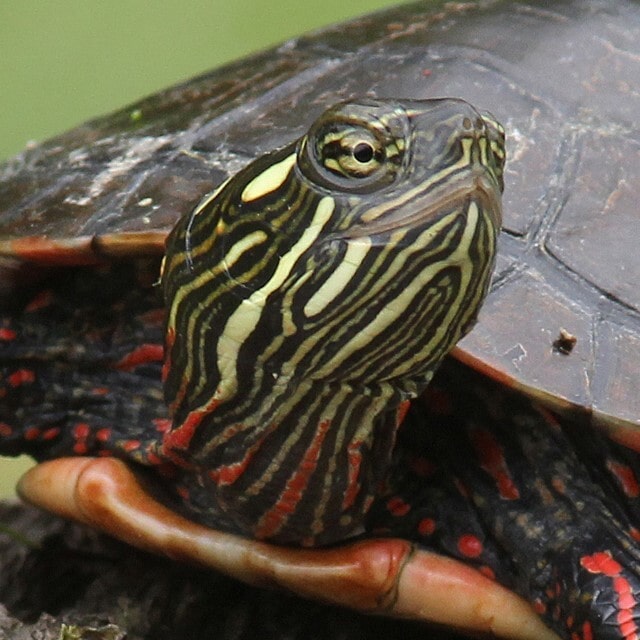
The Painted Turtle: One of the more common species of turtle in America. Its shell is smooth, usually dark with bright red or yellow markings. Painted turtles eat a variety of foods, but younger ones usually start with fish or insects, eventually enjoying plants!
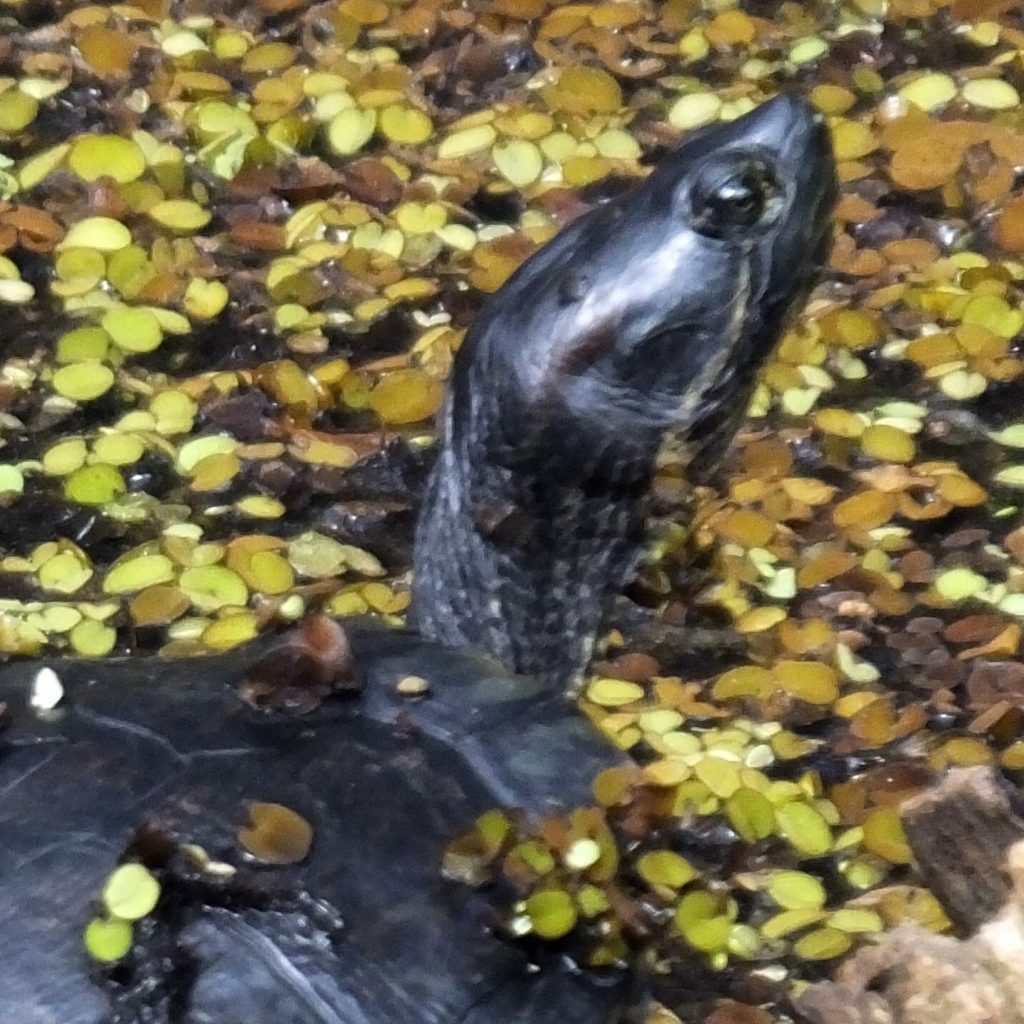
The Musk Turtle: Musk Turtles are also known as “Stinkpots” because they create a stinky “musky” smell to scare off predators when in danger. These turtles have a dome-shaped shell, and are able to extend their head as far as their back legs, how cool is that?!
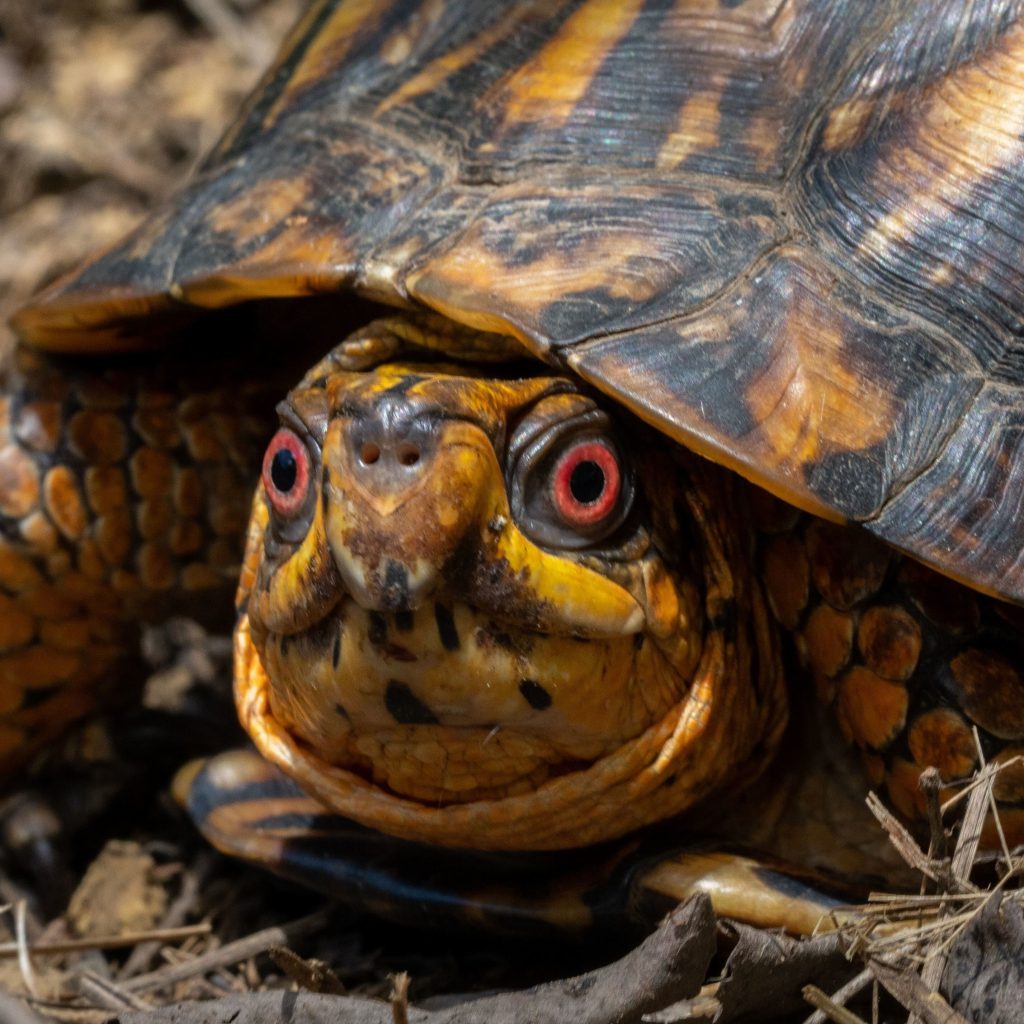
The Box Turtle: These turtles may look a lot more like their ground-dwelling tortoise friends, but they prefer damp places, especially swamps and edges of streams. The box turtle has an interesting shell, which can close completely over its head and legs, in a sense “boxing it in”.
Christina also mentioned a certain species of invasive turtles…do you guys remember what it was? Here’s a hint: It’s got red spots!
So, what about Ryan? Do you wonder how exactly he spent his time in the city?
Well, from what I’ve heard around the office, it sounds like he headed straight to the Jamaica Bay Wildlife Refuge.
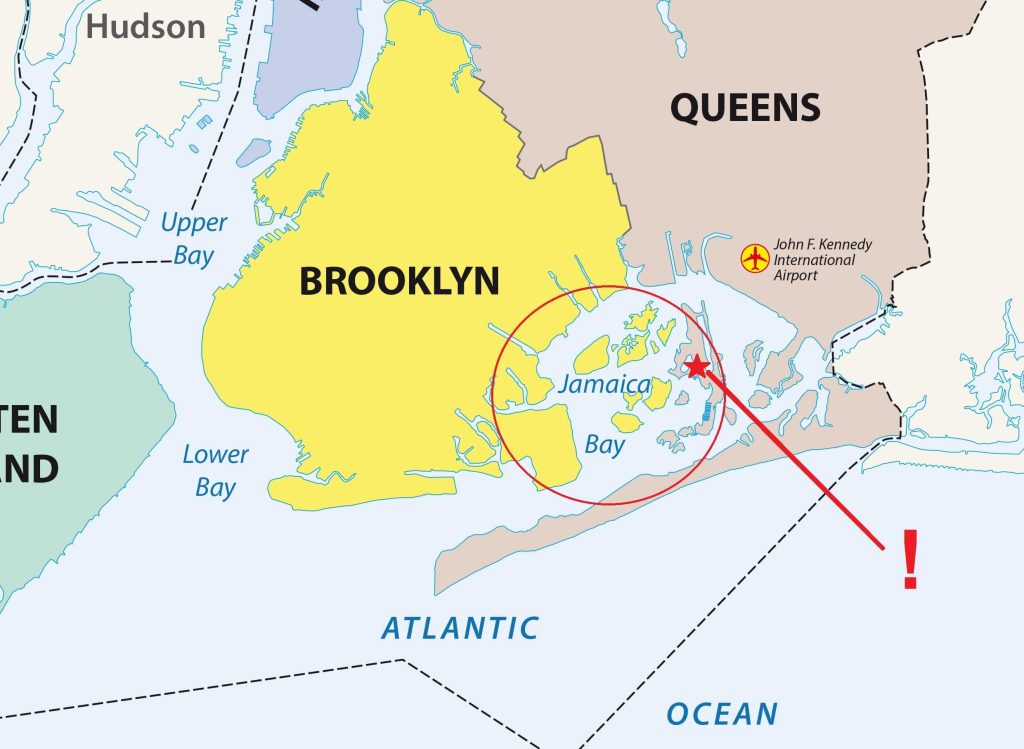
It’s a wildlife refuge in Brooklyn. It’s a large space of water, forests, fields and islands, the perfect habitat for many animals! What the Jamaica Bay Wildlife Refuge is best known for, however, is the great opportunities to observe migratory birds!
Here are some of the birds Ryan might have spotted there:
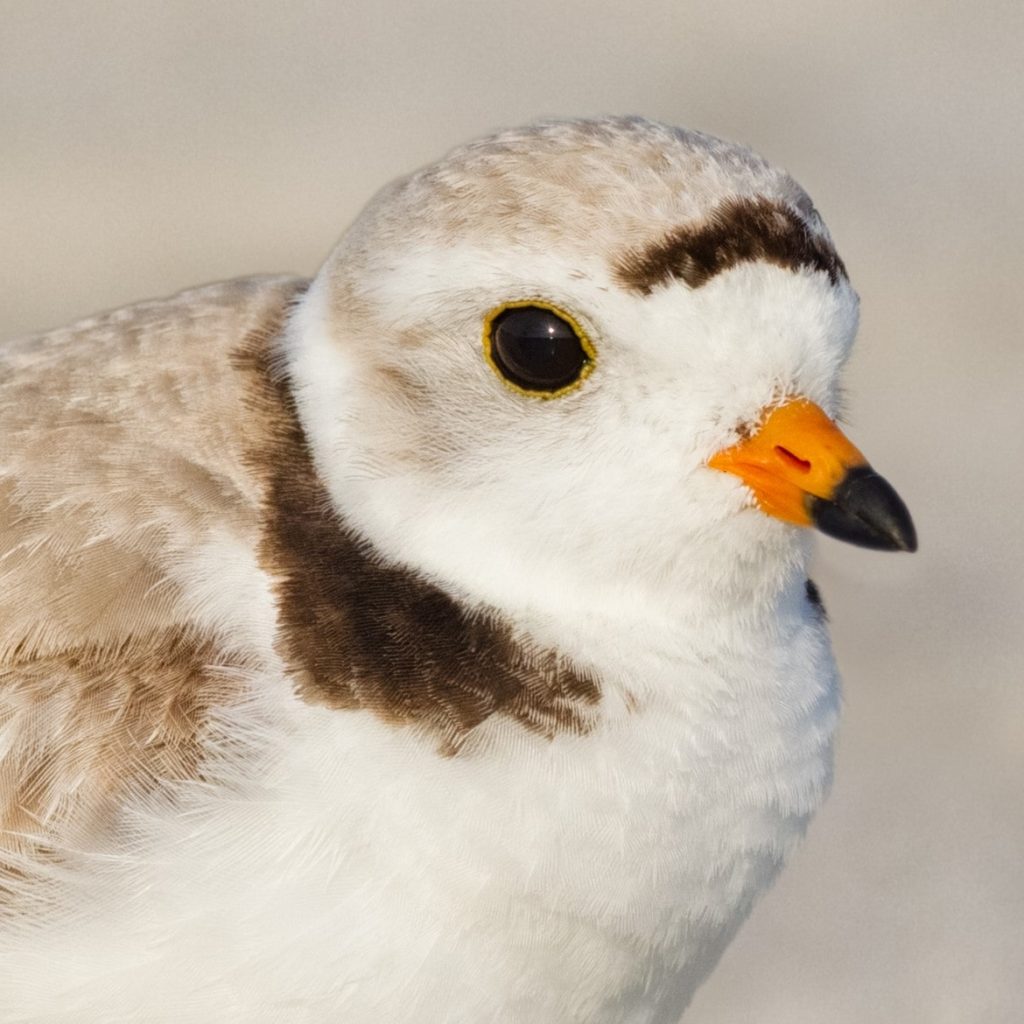
Piping Plover: The piping plover is a shorebird that can be found on sandy beaches. Its tiny size and sandy colors help them hide from predators. If you see one, don’t get too close! This bird species is endangered, made worse by human/animal disturbances that can cause the parents to abandon their nests. During the breeding season, rangers and park staff do their best to create a safe enclosure for plovers away from danger.
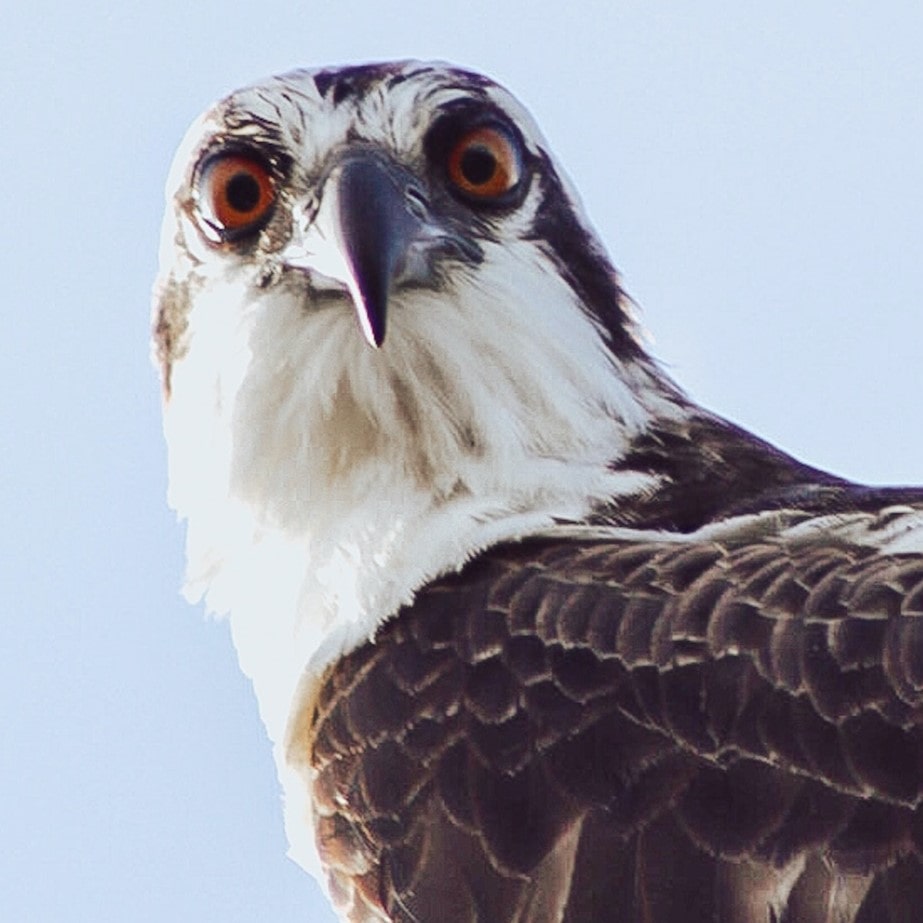
Osprey: Unlike other raptors of its kind, ospreys eat fish and only fish! This has given them the name of “Sea hawk” or “Fish hawk”. These birds live all over the world, from North America, Europe, Africa, Asia to even Australia. Osprey’s mate for life, and will continue to stay together for years. Aww!
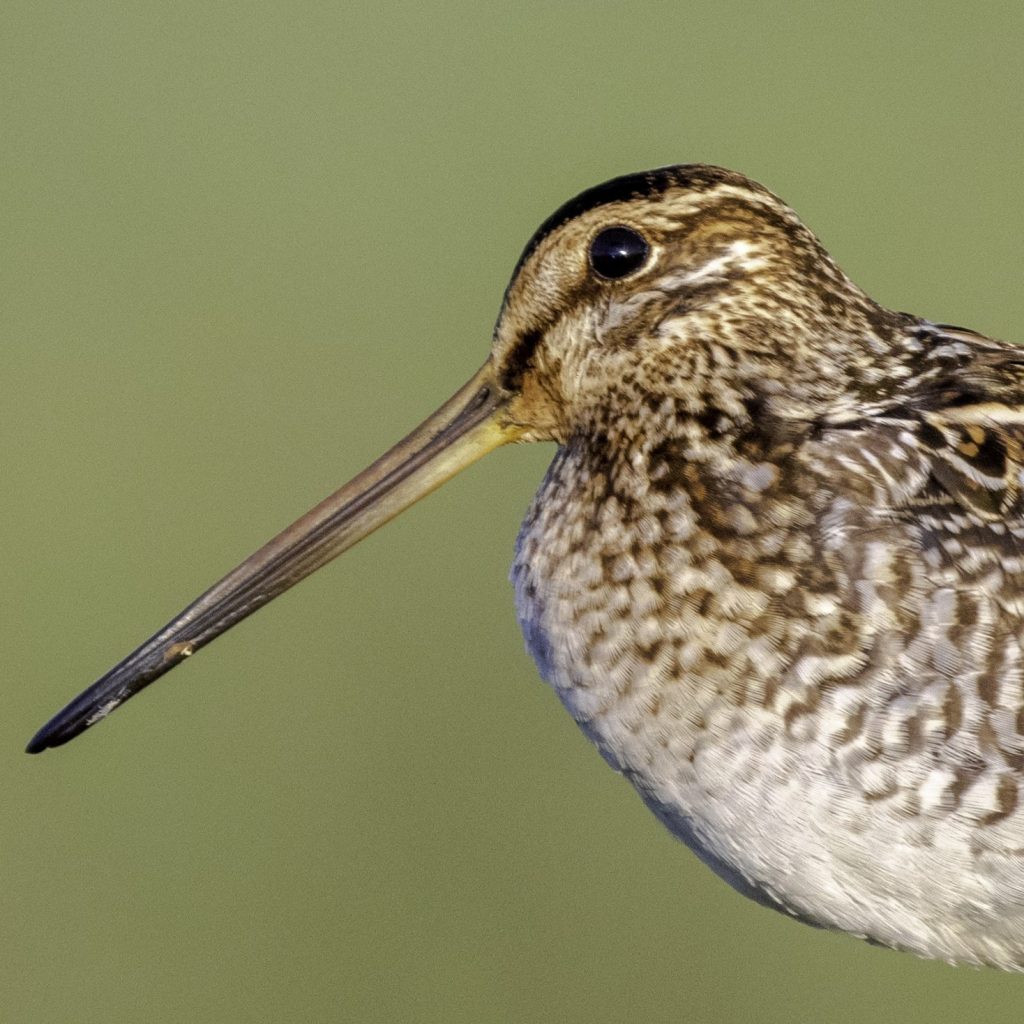
American Woodcock: If there’s one bird known for their cool dance moves, it would be the woodcock! While looking for food, they will move by rocking back and forth, looking very much like some special dance. Speaking of food, the Woodcock’s long beak helps it grab various insects and plants. Yum!
Let’s not ignore Ryan’s additional fact. Light pollution is indeed a problem for migratory birds, especially those that cross the cities! Wherever Ryan got that information, it is an important one for us Earth Rangers to remember! Lights confuse birds, causing them to use up all their energy – which puts them at risk of predators or even window collisions!
- Nat’s tip of the day: If you find an injured bird, seek an adult who can help! Handling and talking to a hurt bird yourself can create a lot of stress, which will only cause more pain. The best thing to do is get them to your closest wildlife rehabilitation center.
In his message to HQ, Ryan boasted about knowing already where he would go next. In fact, he’s already on the road! What does that mean for us?! We don’t have much time! Number 1’s next assignment is “explore one of America’s famous hiking trails” – so where can Emma go next? Do you know some great hikes in some of the surrounding states? Drop a comment with some suggestions and hopefully, she’ll see them!
That’s not all! As thank you for all of your support, Emma has a little treat for you. The first person to type the correct answer to this Trivia question into the comments will win a “keep on ranging” podcast T-shirt for their avatar:
“What animal is the symbol of the New York State?”
Be the first to guess the correct answer!
The winner will be announced next episode, once Emma has managed to take on her next mission!

Got any nearby places for Emma to head to next? Let us know in the comments!
Do be careful – Don’t forget the no airplane rule!
Want to instead try your best with the trivia question? If you don’t have any ideas for either of those, I’m sure Emma would love to hear some cool animal facts to help inspire her! She needs all the trivia she can get to help her win the competition!