Three years ago, Earth Rangers launched Project 2050: Climate-Friendly Habits to Change the World—an initiative inspired by Canada’s goal of reaching net-zero emissions by 2050. Through fun, themed challenges, kids aged 6 to 12 from coast to coast have come together to take action, learning how small changes to their daily habits can make a difference for the planet.
From tackling plastic waste in the Rangers vs. Plastic Challenge to debunking climate change myths in the Myth-buster Challenge, participants log their climate-friendly actions every day. Whether it’s choosing reusable containers, reducing energy use by unplugging devices, or learning how small actions—like unplugging electronics—help lower carbon footprints, each action is part of a bigger effort toward reducing our environmental impact.
With each habit logged, Earth Rangers are doing their part to help Canada work toward its net-zero target. While individual actions alone aren’t enough to solve the climate crisis, they are an important piece of the puzzle—showing that every contribution, no matter how small, is meaningful. Together, we’re demonstrating that climate action can be both fun and impactful, empowering the next generation of environmental leaders.
Help Your Kids Make a Difference—Join Project 2050 Today!
Want to inspire your child to take action on climate change? Download the Earth Rangers App and help them join Project 2050!
To date, over 300,000 kids have joined Project 2050, empowering them to take action on climate change in a fun and engaging way. This milestone wouldn’t be possible without the support of our incredible partners, supporters, and educators.
For teachers and educational professionals, our Homeroom hub offers free resources to bring climate education into classrooms and eco-clubs. From hands-on activities to lesson plans, Homeroom makes it easy to inspire the next generation of environmental change makers.
Meet Megan: A Project 2050 All-Star!
Megan’s story is a great example of how kids participating in Project 2050 are turning what they learn into real action. Through simple, meaningful habits like composting and reducing waste, Megan is showing how small changes can have a big impact.
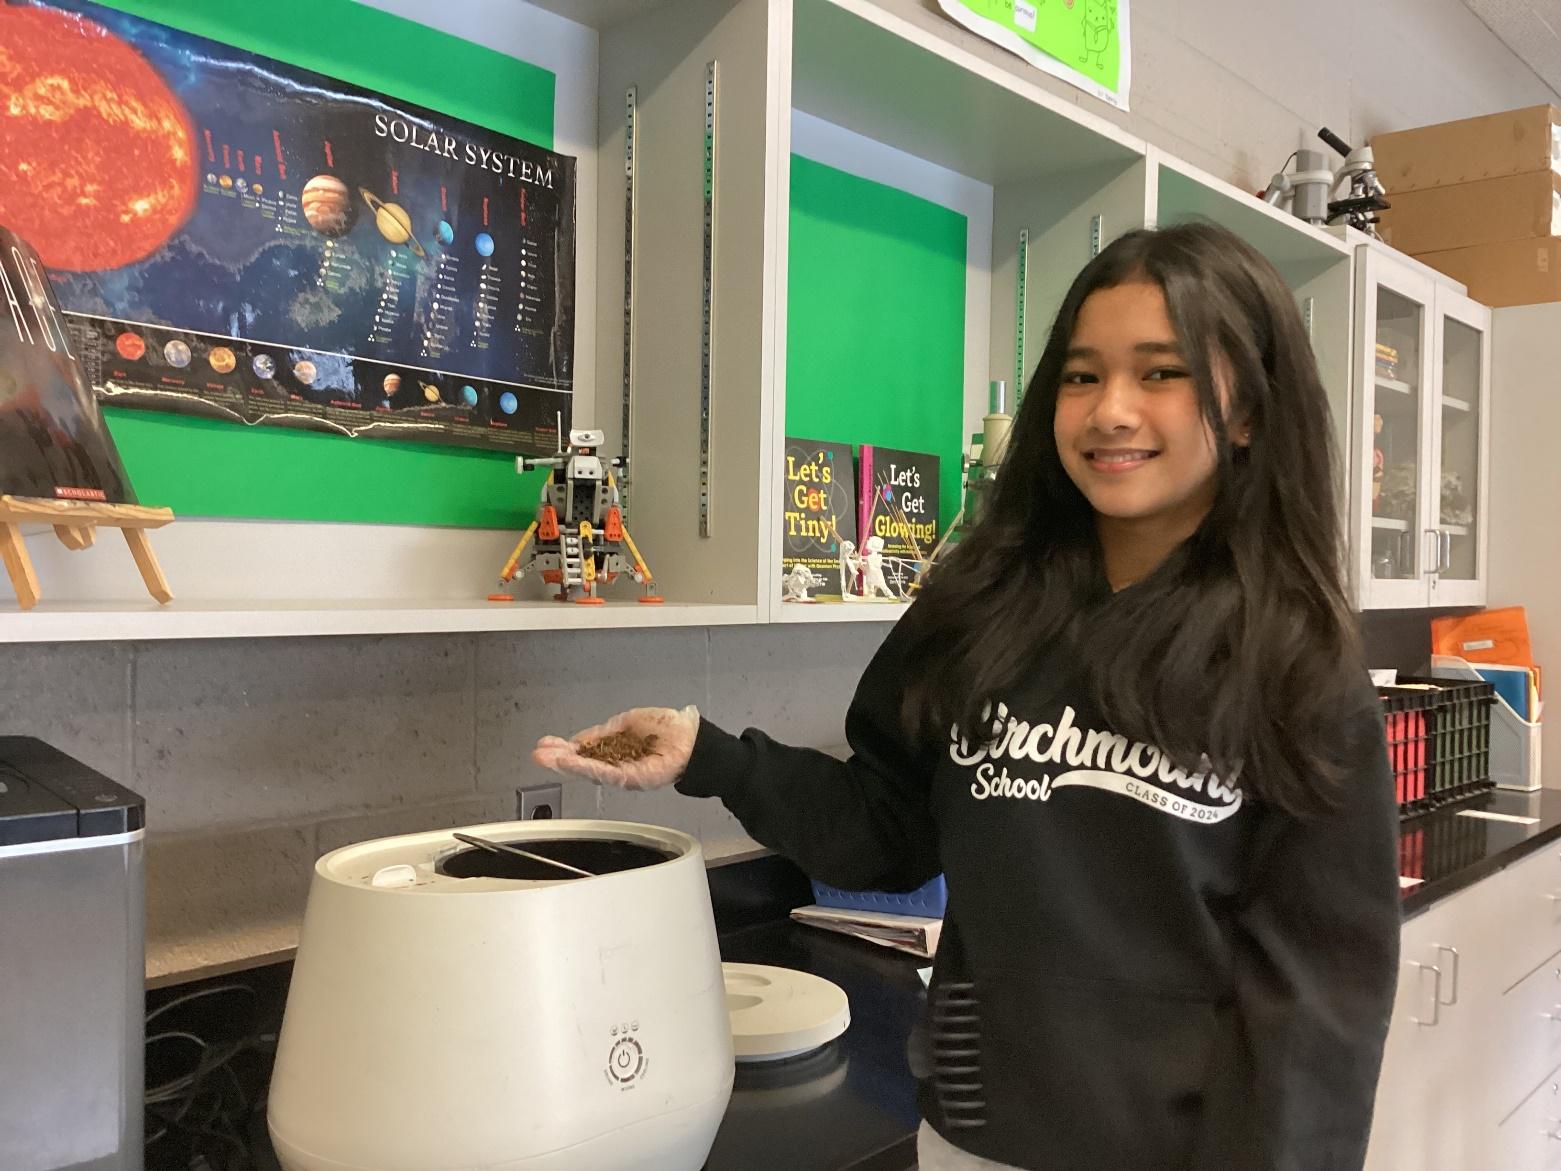
Megan, 13, New Brunswick
Participating in Project 2050 has helped me learn more about climate change and helping the environment by reducing waste, composting, and walking.
I joined our school’s compost crew to help minimize garbage and convert it into compost. It is a way of recycling organic materials to be used as plant fertilizer and to improve the soil’s physical, chemical, and biological properties. This approach benefits the environment by reducing the need for chemical fertilizers, restoring soil fertility, and improving water retention and nutrient delivery to plants. In addition, composting also reduces greenhouse gas emissions by increasing carbon absorption in the soil, which helps climate change. Being a part of our compost team at school and seeing how it impacts on our environment has inspired me to keep on doing it, inside and even outside of school.
Having to do these small things can make a big impact on the environment. Helping the environment could be big for everyone because a clean and healthy environment directly contributes to human well-being. Air pollution, water pollution, and exposure to harmful chemicals can be harmful to human health. Protecting the environment helps mitigate these risks. And it involves efforts to reduce greenhouse gas emissions, mitigate climate change impacts, and work towards a more sustainable and resilient future.
Looking Ahead: The Future of Project 2050
Megan’s story is just one example of how Project 2050 is inspiring kids to take meaningful action on climate change. As we move forward, our goal is to engage even more young people, helping them develop the habits that will make a lasting impact on the environment and encourage continued climate action for years to come.