Paper Plate Polar Bear
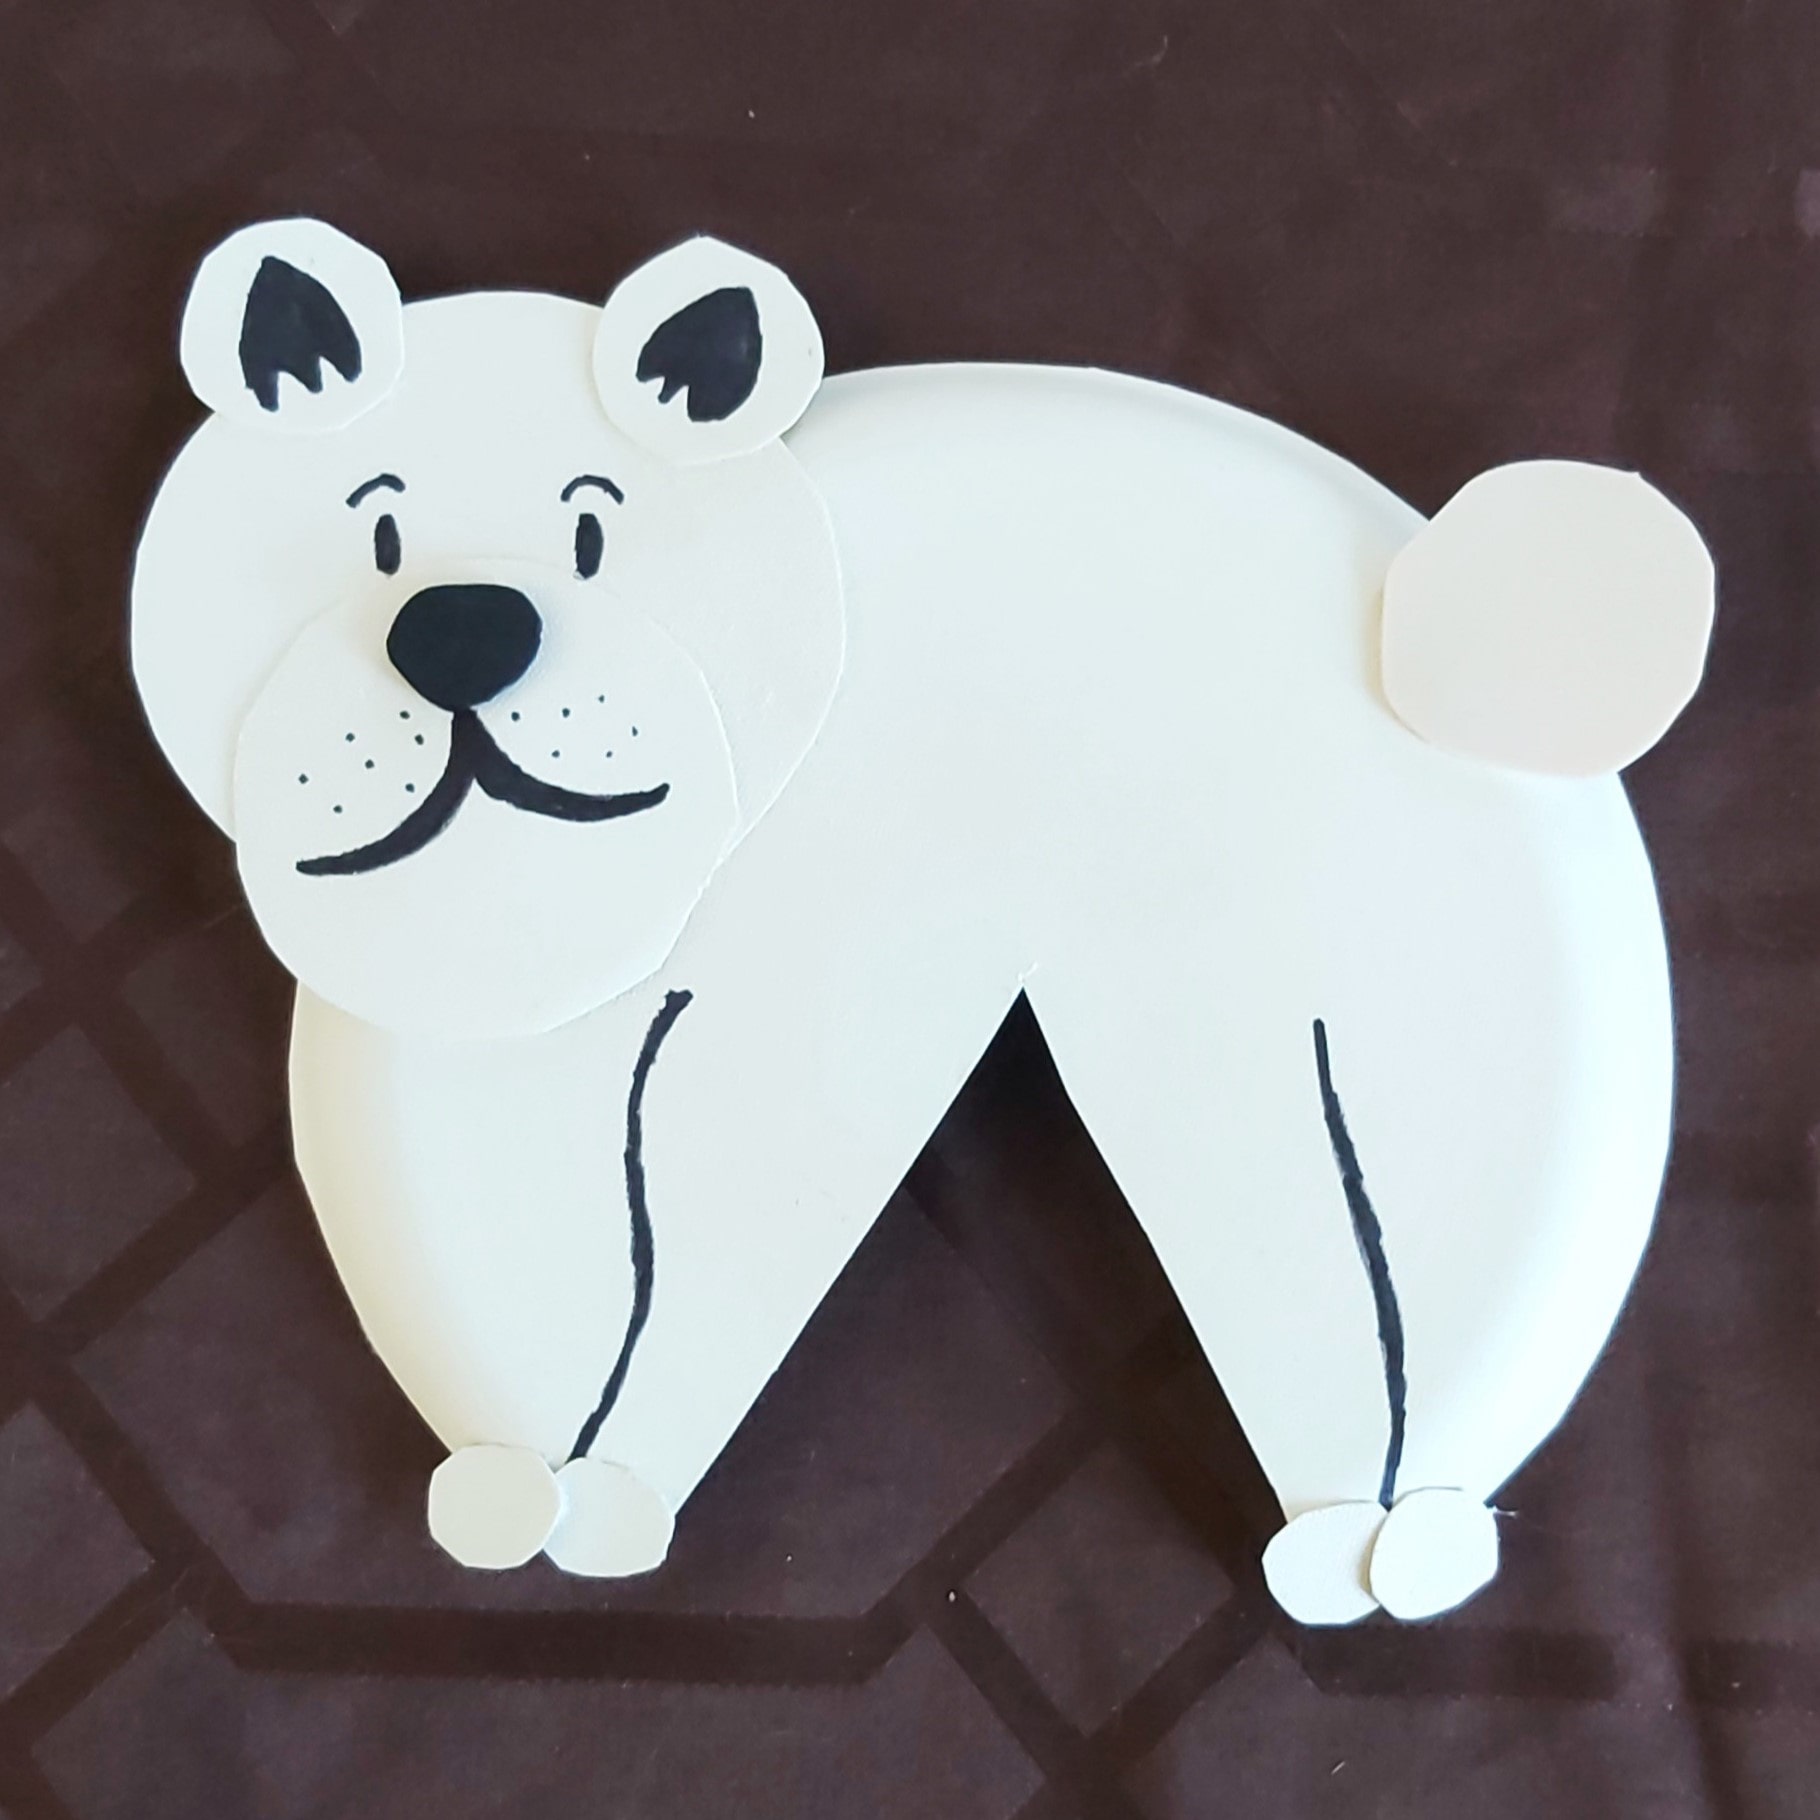
Got any leftover party plates? Need something fun to break the ice? We’ve got the coolest craft for you!
Here’s what you need:
- 2 paper plates
- Scissors
- Glue
- Black marker
- Coloured paper, foam or felt sheets
Here’s how you make it:
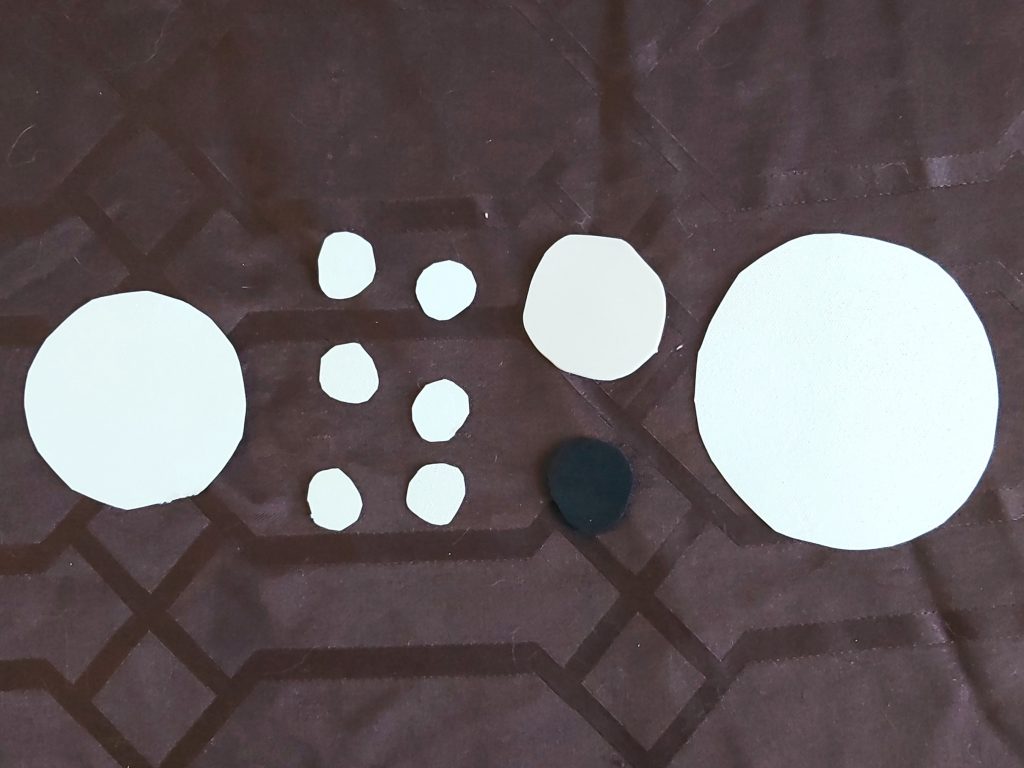
Step 1: Cut out eight circles from one plate: one big head, one medium muzzle, two small ears, and four small paws.
Cut out two circles from your coloured sheet: one nose and one tail.
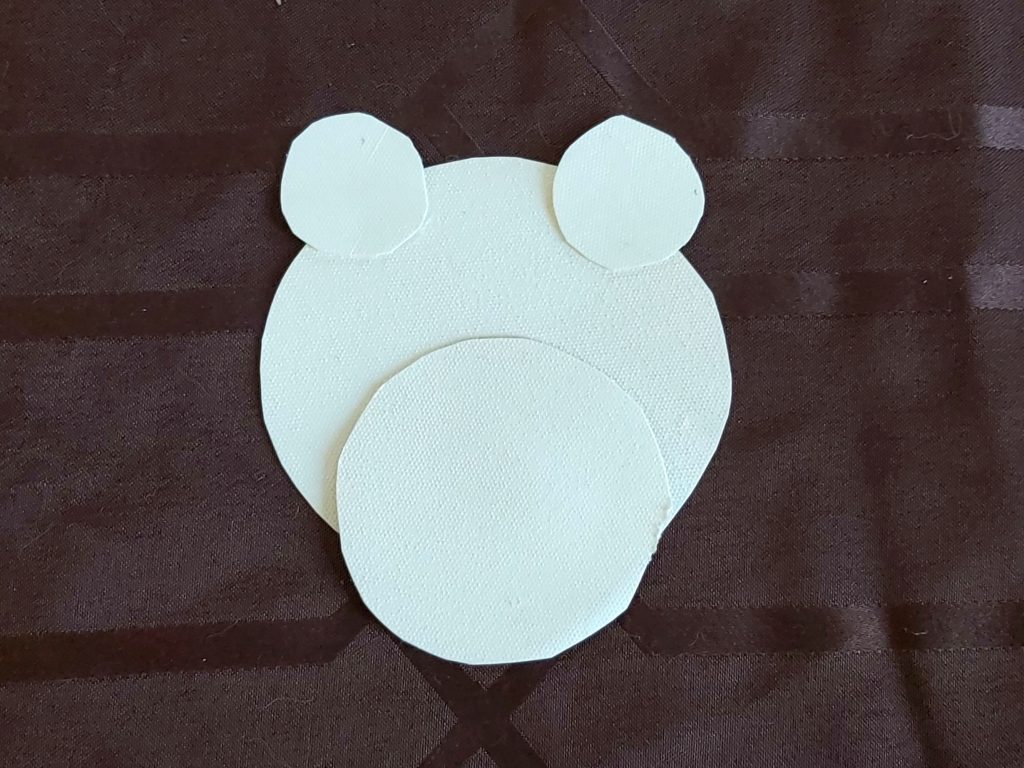
Step 2: Grab your glue and stick the ears to the top of the head circle and the muzzle to the bottom.
Next, glue the head to the top left corner of your second plate.
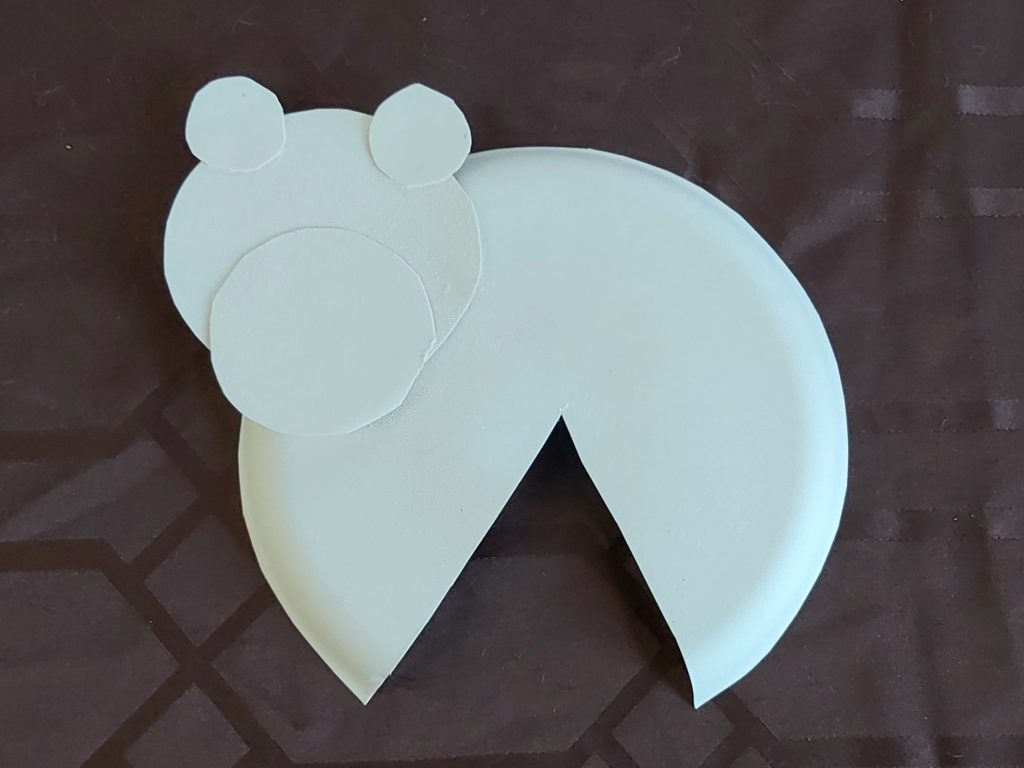
Step 3: When the glue is dry, cut out a triangle from the bottom of your second plate. This will be the space between your polar bear’s front and back legs.
Step 4: Use your marker to draw on some eyes, inner ears, a mouth, and legs.
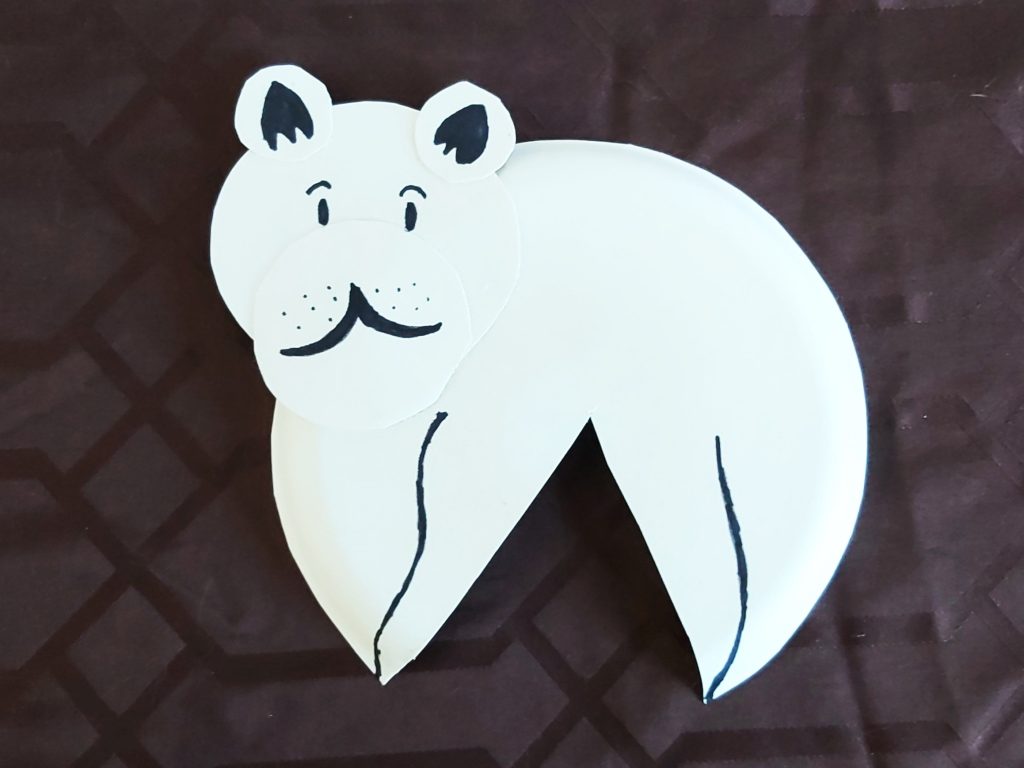
Step 5: Lastly, glue the four paws to the bottom of the plate, and then add the nose and tail!
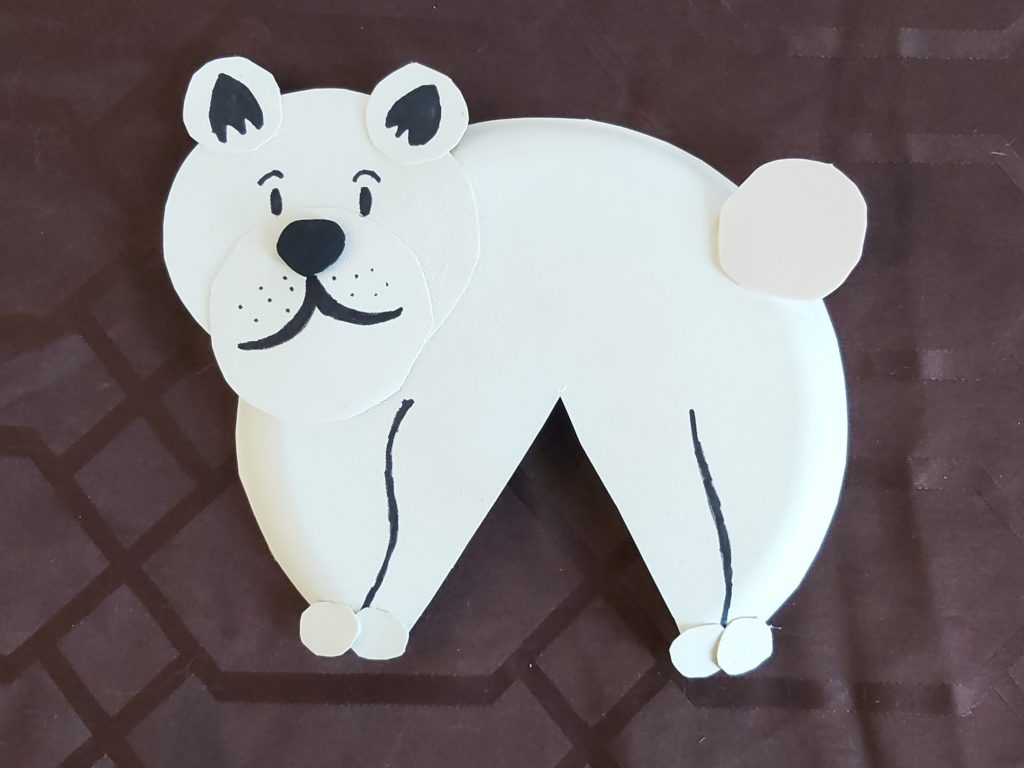

My polar bear’s name is Hudson.
It was so cool !
Cool it. Is fun
It’s soooooooooooo!!!!!!!!!!!!!!!!!! Cool it!! It’s named croton because it’s named the leaf’s mascot!!!!! I love
The leafs!!!!!!!!!!!!!!! Love Wes .
It is so cute
I love my lil polar bear! I gave him a little bit of a small head by accident, but he’s SO ADORABLE!!!
Awesome
I made one and it was really fun, and mine turned out to be very, very, very cute !!!! It’s name is Snowie!!! Cute right?
I named mine snowcone
My polar bears name is failure because I never made it good